Pages

Monday, November 7, 2011

Guacamole: A Classic

Guacamole and Chips
My love for guacamole started out as a kid.  My parents and I would eat out about twice a month at this great little home operated New Mexican Restaurant .  They served the best guacamole ever.  I loved its rich avocado taste, the texture,  and mild spiciness.  
Back then, I ate my guacamole with tortilla chips.  Today, I put guacamole on my turkey sandwiches,  hamburgers,  tacos , and anything else I feel needs it.

When making guacamole, be sure your avocados are ripe.   The avocados are ripe if there is a little give when you gently press the outside of the avocado. If you use them when they are green, they are hard to mash and do not have a good flavor.  In choosing the tomatoes,  I like to use Roma tomatoes because they are meatier and have a lower moisture content than other varieties.  

When storing your guacamole, cover it with plastic wrap.  Place the plastic wrap directly on top of the mixture so no air gets to it.


                                             Guacamole


Ingredients:

3 Haas avocados, halved and seeded
1-tablespoon lemon juice
1-teaspoon garlic salt
1-teaspoon onion powder
½ teaspoon ground cumin
¼ teaspoon chipotle chili powder
¼ teaspoon sea salt
2 Roma tomatoes seeded and diced


Directions:
Avocado Halves

1. Scoop the flesh of the avocados using a spoon into a large bowl.
2. Toss the avocado flesh with the lemon juice.
3. Mash the avocados with a potato masher.
4. Add the garlic salt, onion powder, cumin, chipotle chili powder and sea salt to the mashed avocados.  Stir gently until mixed.
5.  Fold in the diced tomatoes.*
6.  Serve at room temperature.  Cover with plastic wrap and refrigerate any leftovers.
*Note: If you are not going to serve the guacamole right away, do not add the tomatoes.  Refrigerate the dip and add the tomatoes before serving.

Yields 2 cups


Diced Tomatoes
 I was at Costco and the chips sounded and looked so good I could not resist


Friday, November 4, 2011

Bread Machine: Garlic Herb Bread

The  aroma of garlic and fresh herbs as this bread is baking  gets the taste buds going. The taste is not disappointing.   It has a mild, yet satisfying flavor, not too dense of a texture, and a slightly chewy crust.
If you are looking for a bread that is easy to assemble and goes great with  everything from soup to making a sandwich, you need to try this bread.  It is also great for making croutons and stuffing for your turkey.

                                              Garlic Herb Bread
                                                 2 pound loaf

Special Equipment:
Bread Machine

Ingredients:

1 1/3 cups lukewarm water (80-90 degrees)
2 teaspoons salt
2 tablespoons sugar
2 tablespoons butter
4 cups Bread flour
1 tablespoon chopped fresh basil
2 teaspoons chopped fresh sage
2 teaspoons fresh thyme leaves
4 cloves minced garlic
1 1/2 -teaspoon bread machine yeast


Directions:
1. Place the ingredients as listed in your bread machine pan.
2. Place the pan in the bread machine and select the French bread setting - light crust.
3. When done, remove the bread pan from the baking chamber.  Remove the loaf of bread from the pan and place on a wire rack to cool.  Cool for at least 30 minutes.

Makes 1 loaf


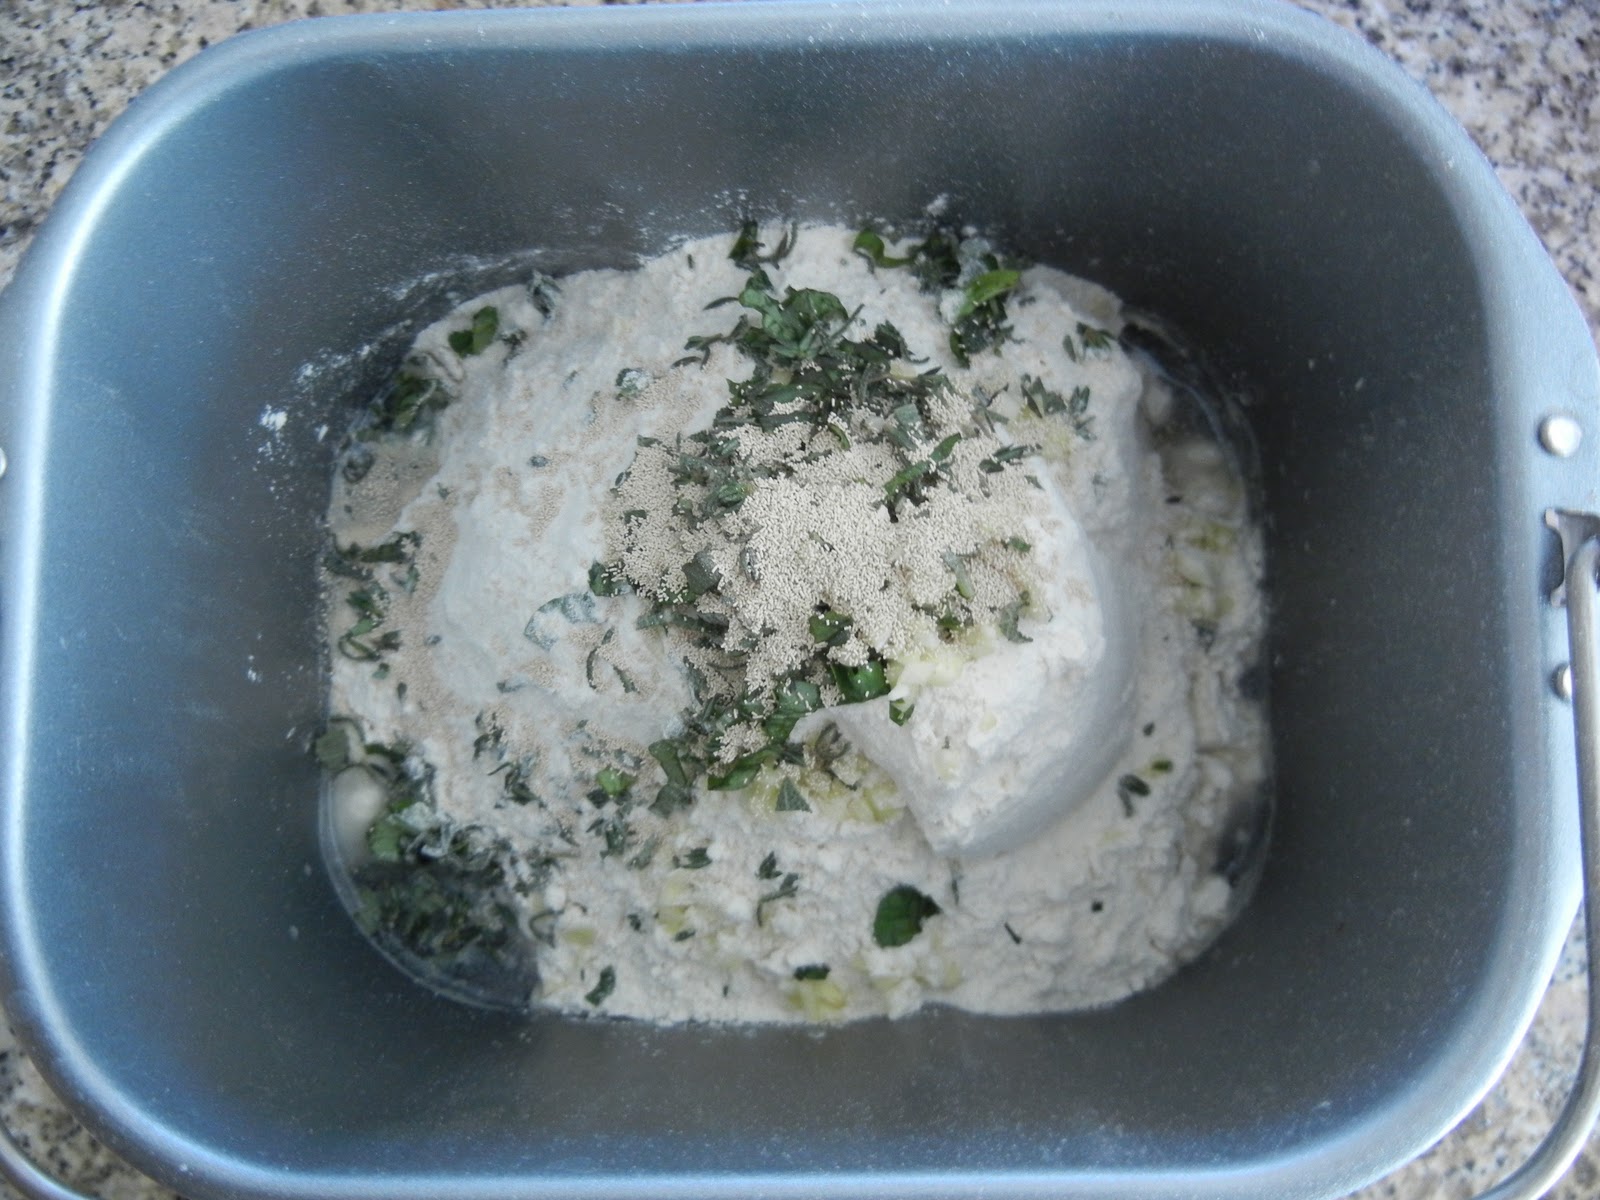
Ingredients in Bread Pan

Kneaded Dough

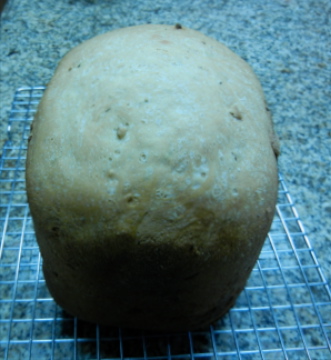
Bread Cooling


Tasty Goodness

Wednesday, November 2, 2011

Chicken Breasts With White Wine Mushroom Sauce

Don't know what to make for dinner.  Try Chicken Breasts With White Wine Mushroom Sauce.
This dish is great for company or a family dinner.  The chicken is baked in chicken broth, wine, and spices. Before serving, a flavorful wine sauce is poured over it.    Serve it with a veggie and you have dinner.


                         Chicken Breasts With White Wine Mushroom Sauce

Ingredients:
6 boneless and skinless chicken breast halves
½ teaspoon onion powder
1/2-teaspoon curry powder
¼ teaspoon black pepper
1-cup chicken broth
½ cup white cooking wine
Seasoned Salt
Paprika

Mushroom Sauce Ingredients:
2 tablespoons butter
1 cup mushroom slices
2 tablespoons flour
¼ cup cold water
Reserved pan juices
Cilantro for garnish


Instructions:

Preheat oven to 350 degrees.

1. Spray   lightly a 9x13 inch-baking dish.  Set aside.
2. Rinse the chicken breasts under cold water and pat dry with paper towels.  Set aside
Chicken Broth, White Wine, and Spices
3. Whisk together in a medium mixing bowl the onion powder, curry powder, black pepper, chicken broth, and white cooking wine.
4. Put the chicken in the prepared baking pan. Pour the chicken broth mixture over the chicken breasts.
5. Sprinkle chicken breasts with the seasoned salt and paprika.
Chicken Breasts 
6. Cover with aluminum foil and bake for 30 minutes.  Uncover and bake for an additional 45 minutes.
7. Melt the butter in a small skillet and sauté the mushroom slices while the chicken is baking.
Sauteed Mushrooms
8. Lower oven temperature to 200 degrees.  Remove chicken from the pan and place in an ovenproof dish covered with foil.  Return the chicken to the oven   Strain the pan juices and set aside
9. In a saucepan add the flour and water and whisk until smooth.
10. Whisk in the reserved pan juices to the flour mixture slowly.  Cook and stir over low heat till the sauce thickens and bubbles.   Boil for 4 minutes longer.

11.Add the mushrooms to the sauce and heat through.  Remove from heat.
10. Remove the chicken from the oven and place on a platter or on individual plates.  Spoon the sauce over the chicken and garnish with a sprig of cilantro if desired.

Serves 6

Monday, October 31, 2011

Creamy Lavender Scones


I have become a great fan of cooking with lavender.  It gives a pleasant exotic flavor to foods. 


The flowers are what are used primarily in cooking.  When cooking with lavender be sure you use culinary lavender.
In coming up with a recipe for lavender scones, I started out  using a little lavender and then adding more with each recipe iteration. Too much lavender can be overpowering.


                                            Creamy Lavender Scones

Ingredients:


2 cups all purpose flour
1/3-cup sugar
1-tablespoon baking powder
½ teaspoon salt
6 tablespoons unsalted butter
1 large egg
¾ cup heavy cream
1 teaspoon grated lemon zest
2 teaspoons dried culinary lavender


Directions:

1. Preheat oven to 350 degrees.  Line a baking sheet with parchment paper.  Set aside.
Flour Mixture
2.Whisk together in a large mixing bowl the flour, sugar, baking powder, and salt.  Grate the butter into the flour mixture.  Incorporate the butter into the flour mixture with your hands.  There will be different shapes of butter, some will be pea sized other cornflake size.
Butter Incorporated into the Flour 


3. Beat together the egg and heavy cream in a small mixing bowl.
4.  Add the egg mixture to the flour mixture.  Combine with a fork until evenly moistened.
5. Add the lemon zest and lavender and stir until combined.
6.Gather the dough into a ball, a while still in the bowl, gently knead the dough 8-10 strokes.
7. Drop the dough by a ¼ cup full onto the parchment paper line baking sheet.  Space the scones about 2 inches apart.
8. Bake in a 350-degree oven for 20-25 minutes or until the scones are golden and firm to the touch.  Cool for 10 minutes then remove to a wire rack to cool.
9.  Store in an airtight container.

Serves 9

Egg and Cream Beaten  Together


Well Combined Dough

Ready for Oven


Creamy Lavender Scone

Friday, October 28, 2011

Maple Syrup: A Sweet Delight

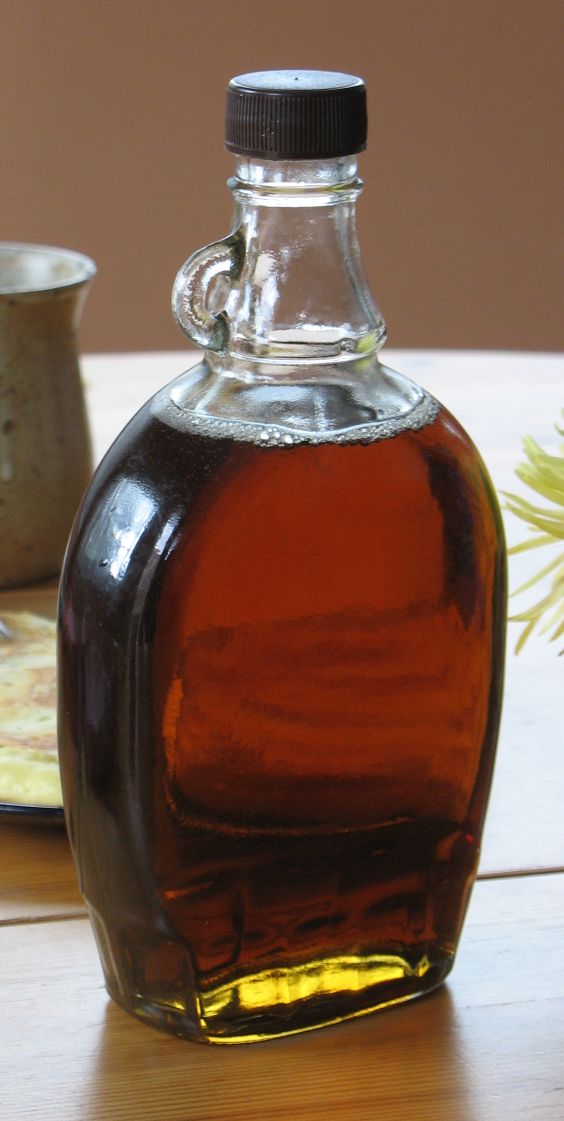
Maple Syrup
Fall seems to be the time I use maple syrup the most for  my cooking and baking.  I love the smell and taste of this delicious liquid.


Maple syrup was first used by the American Indians for both food and medicine.  When settlers came to North America they liked the delicious sweetness of the syrup. Maple syrup was the main sweetener used by the colonists.

Maple Syrup has health benefits too.  It is an excellent source of manganese and zinc.  The trace mineral manganese is an essential co factor in some enzymes in energy production and antioxidant defenses.  The zinc supplied in maple syrup not only acts as an antioxidant, it can decrease the progression of atherosclerosis.  Zinc and manganese are important allies in the immune system.

Different Grades of Maple Syrup

The quality of maple syrup varies in characteristics such as color, taste, and consistency.  In the United States, maple syrup is graded by the United States Department of Agriculture (USDA).  There are three versions of Grade A maple syrup.

Grade A                                           Flavor
Light Amber                                     Delicate
Medium Amber                                Mild
Dark Amber                                      Full Bodied


Grade B;  This grade has the most pronounced taste.  It has a hearty, robust, flavor. It is usually reserved for cooking and using in processed foods.

Canada rates their  maple syrup similarly.

Grade
Number 1: Extra light(AA), light(A), medium(B)
Number 2: Amber(C)
Number 3: Dark(D)

The shelf life of maple syrup unopened is once year. Once you open maple syrup, refrigerate the syrup.  The shelf life of opened refrigerated syrup is 6 months.  If mold appears in the syrup, even if just on the surface throw it away.

Quick uses for maple syrup:

1.  Use it as a sweetener for your coffee
2.  Pour maple syrup on your oatmeal
3.  Add it to pureed sweet potatoes
4.  Pour it on pancakes, waffles, french toast.


Wednesday, October 26, 2011

1+1+1= Pumpkin Spice Fruit Dip

I was so excited when I found Pumpkin Spice pudding mix in the store.  I found it in the area where they put holiday cooking items you may need.  Ideas went racing through my mind on what I could make with the pudding mix.  My son took advantage of my deep thinking moment and put some junk food in the cart which I discovered at the  check out.

Well, back to my thoughts on the use of the pudding mix. I could use it in breads, cake, by itself as a quick dessert, substitute it for the pistachio pudding in my Pistachio Tart Recipe (December 13, 2010 blog posting), and finally make a fruit dip with it.

And that is what I did.  I made fruit dip.   All you need is three simple ingredients and you have yourself a great tasting dip for the fruit of your choice. If you wish, you can decorate the top of the dip with sprinkles or chopped nuts, cookie crumbs, whatever you wish. My kids decided on the autumn sprinkles I had in my pantry to use for decorating.


                                              Pumpkin Spice Fruit Dip

Ingredients:
1 (3.4 oz) package of Pumpkin Spice instant pudding
1 -cup whole milk
1-cup plain Greek yogurt
Sprinkles for decoration (optional)

Directions:

1. Whisk together the pudding mix and milk in a medium-mixing bowl.
2. Add the Greek yogurt and stir until well combined.
3. Spoon pudding into a serving bowl, or individual cups and decorate with sprinkles of your choice.
4. Refrigerate any left over dip.
Kids Choice of Decor

Note:  If the dip is too thick for your liking, thin it with some milk.


Pumpkin Spice Fruit Dip
Makes approximately 2 cups of dip

Monday, October 24, 2011

Peanut Butter + Pumpkin Butter = One Great Sandwich

Today, for lunch I am going to make a  special treat.  Instead of PB &J,  I am making PB&PB - Peanut Butter and Pumpkin Butter sandwiches.    Pumpkin Butter has been referred to as Pumpkin Pie in a jar.  I could not describe the taste  better.  It is a  rich, spicy,  spread I could eat straight from the jar but I resist.

These delicious sandwiches would be great for fall parties.  My daughter is having a Fall Tea, and I thought I would get creative.  I plan on cutting out sandwich designs with cookie cutters or sandwich cutters.
For lunches or snacks, you can just trim off the crust and cut the sandwich into quarters.

No matter how you slice it, these sandwiches are delicious.
Ingredients


                                      Peanut Butter and Pumpkin Butter Sandwiches

Ingredients:

2 slices of bread of your choice
Peanut Butter
Pumpkin Butter

Directions:

1. Spread the Peanut Butter on a slice of bread.
2. Spread the Pumpkin Butter on the other slice.
3. Place the butter sides together and slice.


PB&PB

Makes 1 sandwich